What to do in hour one, hour four and hour twelve — and why Category 1 water becomes Category 3 in seventy-two hours if you wait.
Why the first 24 hours decide the cost of the whole job
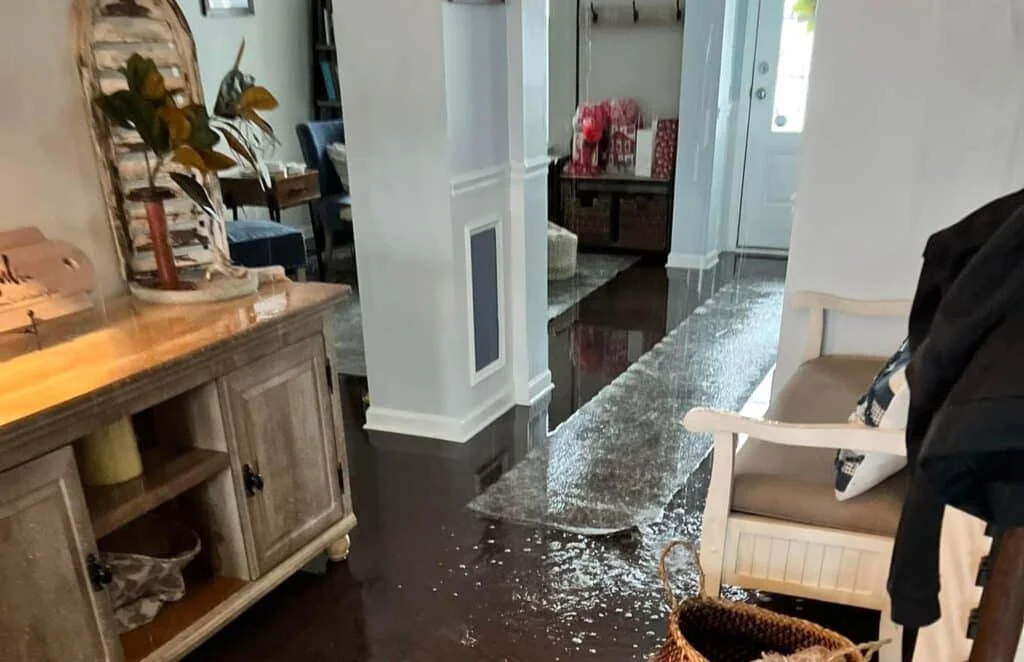
Water damage is not a single event. It is a chain reaction that starts the moment liquid leaves the pipe and keeps going until the last piece of saturated material reaches its dry standard. Everything you do — or fail to do — in the first day determines which link in that chain the job stops at.
The industry classifies water losses into three categories, and the clock is what moves a loss from one category to the next. Category 1 water is clean: a supply line, a water heater, rain through a broken window. Category 2 carries significant contamination — washing-machine discharge, dishwasher overflow, toilet overflow without solids. Category 3 is grossly contaminated: sewage, rising ground water, sea water, or any water that has sat long enough to grow a bacterial colony.
The degradation rule
Category 1 water becomes Category 2 in roughly 24 to 48 hours at room temperature, and Category 3 within 72 hours. That single fact is why a Tuesday-night call costs a fraction of a Friday-morning one for the same burst pipe.
The financial consequence is blunt. Category 1 water in drywall means the drywall usually stays: we dry it in place with air movement and dehumidification. Category 3 water in the same wall means the drywall comes out to at least 24 inches above the water line, the insulation is bagged as waste, and the cavity is treated before anything is rebuilt. The materials bill triples and the timeline doubles.
Hour 0–1: safety, source, and the photographs nobody thinks to take
Before anyone touches a mop, three things need to happen in order.
1. Make the space electrically safe
If water is anywhere near outlets, extension leads, or a distribution board, kill the power to those circuits at the breaker — not at the appliance. Do not walk into standing water in a room that is still energised. If the breaker panel itself is in the affected area, stop and call the utility.
2. Stop the source
Find the main shut-off valve. In most US single-family homes it is where the supply enters the building, often in a garage, basement, or an exterior box near the street. In multi-storey buildings, the riser isolation valve on your floor is faster than the building main and will not shut off your neighbours.
Learn this before you need it
Photograph your shut-off valve today and save the picture in your phone with the word “water” in the file name. In an emergency at 2 a.m., searching a dark garage costs more than the photograph ever will.
3. Photograph the scene before you disturb it
This is the step people skip, and it is the one that costs money later. Take wide shots of every affected room from two opposite corners. Then take close-ups of the source, the water line on walls and furniture, and any visibly damaged contents. Photograph the serial-number plate of any failed appliance — a claim against a manufacturer becomes far easier with it.
Video helps too: a slow walk-through with narration (“this is the master bedroom, water is standing about an inch deep against the north wall”) creates an unambiguous time-stamped record.
Hour 1–4: extraction, and why a wet-vac is not enough
Every gallon you physically remove is a gallon you do not have to evaporate. That is the single most important economic fact in structural drying. Extraction is roughly 1,200 times more energy-efficient than evaporation, which is why professional crews extract obsessively before a single air mover goes down.
A household wet-vac removes surface water. It does not remove the water held in carpet padding, which can hold eight to ten times its dry weight, nor water that has wicked into the bottom plate of a wall assembly. Truck-mounted or portable extractors with weighted heads compress the carpet and pull water out of the pad underneath.
What a crew actually does in this window
- Extracts standing water from hard floors, then carpet, then padding.
- Lifts and blocks furniture on foam or plastic tabs so legs stop staining floors.
- Removes area rugs for off-site cleaning — they dry badly in place and bleed dye.
- Drills weep holes at the base of wall cavities where trapped water is confirmed by meter readings.
- Pulls the toe-kicks off cabinet runs; the void underneath is where water hides for weeks.
If you are doing this yourself while waiting for a crew, the useful priority order is: stop the source, remove standing water, get air moving, and get contents off wet floors. Everything else can wait.
Hour 4–12: the drying chamber and the psychrometry behind it
Drying is not “point fans at the wet bit”. It is the deliberate manipulation of four variables — temperature, humidity, air movement and time — inside a defined space that professionals call a drying chamber.
The four levers
| Lever | What it does | Typical target |
|---|---|---|
| Temperature | Warmer air holds more moisture and speeds evaporation | 70–85 °F (21–29 °C) |
| Relative humidity | Dry air creates the vapour-pressure gradient that pulls water out of materials | Below 40% RH |
| Air movement | Strips the saturated boundary layer off wet surfaces | 1 air mover per 50–70 sq ft of wet floor |
| Dehumidification | Removes the evaporated water from the air so it cannot re-condense | 1 LGR unit per 50–60 pints/day of expected load |
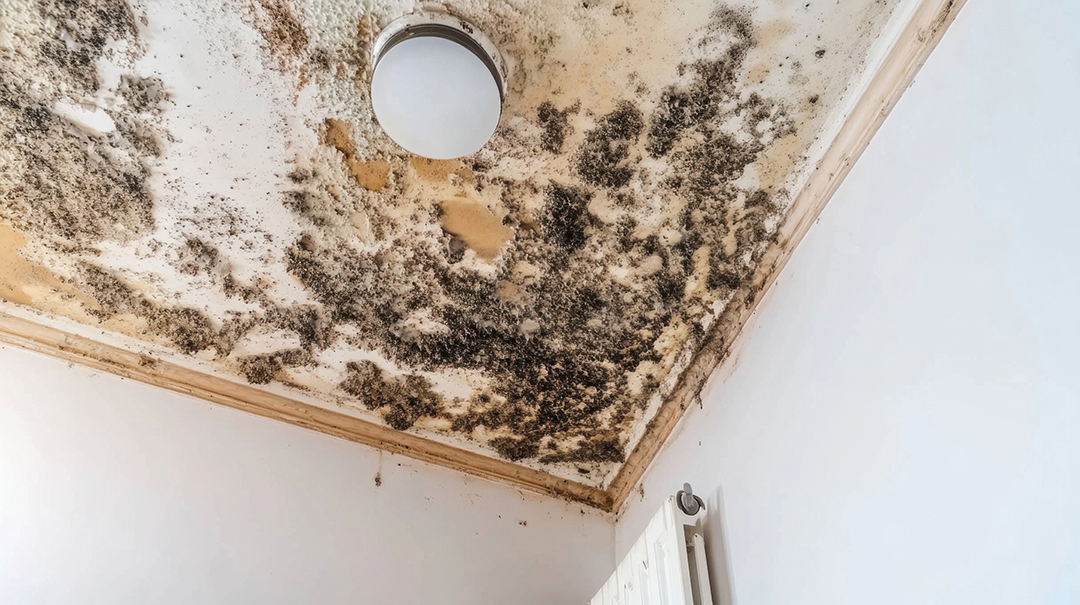
Get the balance wrong and you can make things worse. Blowing air across wet materials without removing the resulting vapour simply relocates the water — often into a cooler wall cavity or ceiling void where it condenses and starts a mold problem three weeks later, long after the fans have gone.
Why open windows are usually the wrong answer
Opening windows helps only when the outside air is drier than the inside air. In Florida in August, outdoor air at 88 °F and 75% RH carries far more water than the conditioned air indoors. Opening up in those conditions actively imports moisture. Check the dew point, not the temperature.
Hour 12–24: mapping moisture and setting the dry standard
By the end of the first day, a professional file should contain a moisture map: a floor plan marked with meter readings at fixed, labelled positions, taken with the same instrument each time.
Two instrument types matter. Non-penetrating meters read relative moisture through a surface without damaging it, which is useful for scanning large areas quickly. Penetrating meters use pins driven into the material and give a reading at a specific depth — the number that actually matters for a drying decision.
The dry standard
The dry standard is a reading taken from the same material in an unaffected part of the building. If the living-room drywall reads 8% and the affected bedroom drywall reads 24%, the target is not “zero” — it is 8%, plus a small tolerance. Chasing lower than the dry standard wastes days of equipment rental and can damage the material.
What the daily log should contain
- Date, time, technician name.
- Outdoor temperature, RH and dew point.
- Chamber temperature, RH, GPP (grains per pound) and dew point.
- Dehumidifier intake and outlet readings.
- Material readings at each mapped position.
- Equipment count and run hours.
This is the document that settles disputes with insurers. A file with five days of readings showing a flattening curve justifies five days of equipment. A file with no readings justifies nothing.
Six things that make it worse
- Waiting to “see if it dries on its own.” It will not, and the delay pushes the water into the next contamination category.
- Running the HVAC system after a Category 2 or 3 loss. You are distributing contaminated aerosols through every room in the building.
- Using a household dehumidifier on a serious loss. A 30-pint consumer unit against a 200-pint load is decoration, not equipment.
- Painting or sealing over damp material. Sealing traps moisture in the assembly and guarantees a mold call in six weeks.
- Throwing away damaged contents before documenting them. No photograph, no claim.
- Signing a scope you have not read. Emergency mitigation authorisation and reconstruction contracts are different documents. Never sign a blank one.
What your insurer needs from day one
Call the carrier the same day, even if you are unsure whether you will claim. Opening a claim number costs nothing and starts the clock in your favour; most policies contain a duty-to-mitigate clause requiring you to act promptly to prevent further damage — which is exactly what calling a restoration company demonstrates.
Have ready: the policy number, the date and time the loss was discovered, the cause if known, a description of affected rooms, and whether the property is habitable. Ask the carrier for the adjuster's name and direct contact, and ask explicitly whether emergency mitigation is authorised — the answer is almost always yes, because mitigation reduces the carrier's exposure.
You choose the contractor
Carriers maintain preferred-vendor programmes and will often suggest one. In every US state, the property owner retains the right to select their own licensed restoration contractor. A preferred vendor works fine for many people; just know the choice is yours, not the carrier's.
The 24-hour timeline at a glance
| Window | Priority | Outcome you want |
|---|---|---|
| 0–60 min | Safety, source, photographs | Power isolated, water stopped, scene documented |
| 1–4 h | Extraction | All standing and absorbed bulk water removed |
| 4–12 h | Chamber set-up | Air movers and dehumidifiers balanced, containment built |
| 12–24 h | Mapping & documentation | Moisture map, dry standard, first daily log, claim opened |
Hit those four windows and a typical residential water loss dries in three to five days with most materials saved. Miss them, and the same loss becomes a two-week demolition and rebuild.
Dealing with this right now?
Our dispatch desk is staffed 24/7. Call +1 888-216-6362 or request an appointment and a coordinator calls you back in minutes.